How to make your 3D prints stick to the base
Date:
As someone who has a 3D printer without a heated base, i've ran into quite a lot of problems over the years, because my models tended to fall off of the base plate, ruining the entire print. The internet provided numerous supposed solutions for this problem:
- level your bed
- mess around with the extruder temperature settings
- consider printing on a raft
- consider getting a base that's made out of glass
- use some sticky tape on the base
- if you can't get tape, use glue instead
And, over the years i've tried most of them, with varying degrees of success. For a while, i had a lot of luck with the PVA glue, which was a lot more cheaper and efficient than trying to get some very special type of tape that's adhesive on both sides. I'd pour some glue on the base plate, then use a brush to even it out until it's a pretty thin layer, then let it dry off a little bit until it becomes viscid, before finally starting the print. When it was done correctly, the first levels of the print or the raft would become partially submerged in the glue and would stick to it and the base. After the print would be done, i could simply use some water or a damp sponge to loosen up the glue and clean it off with some wet tissues.
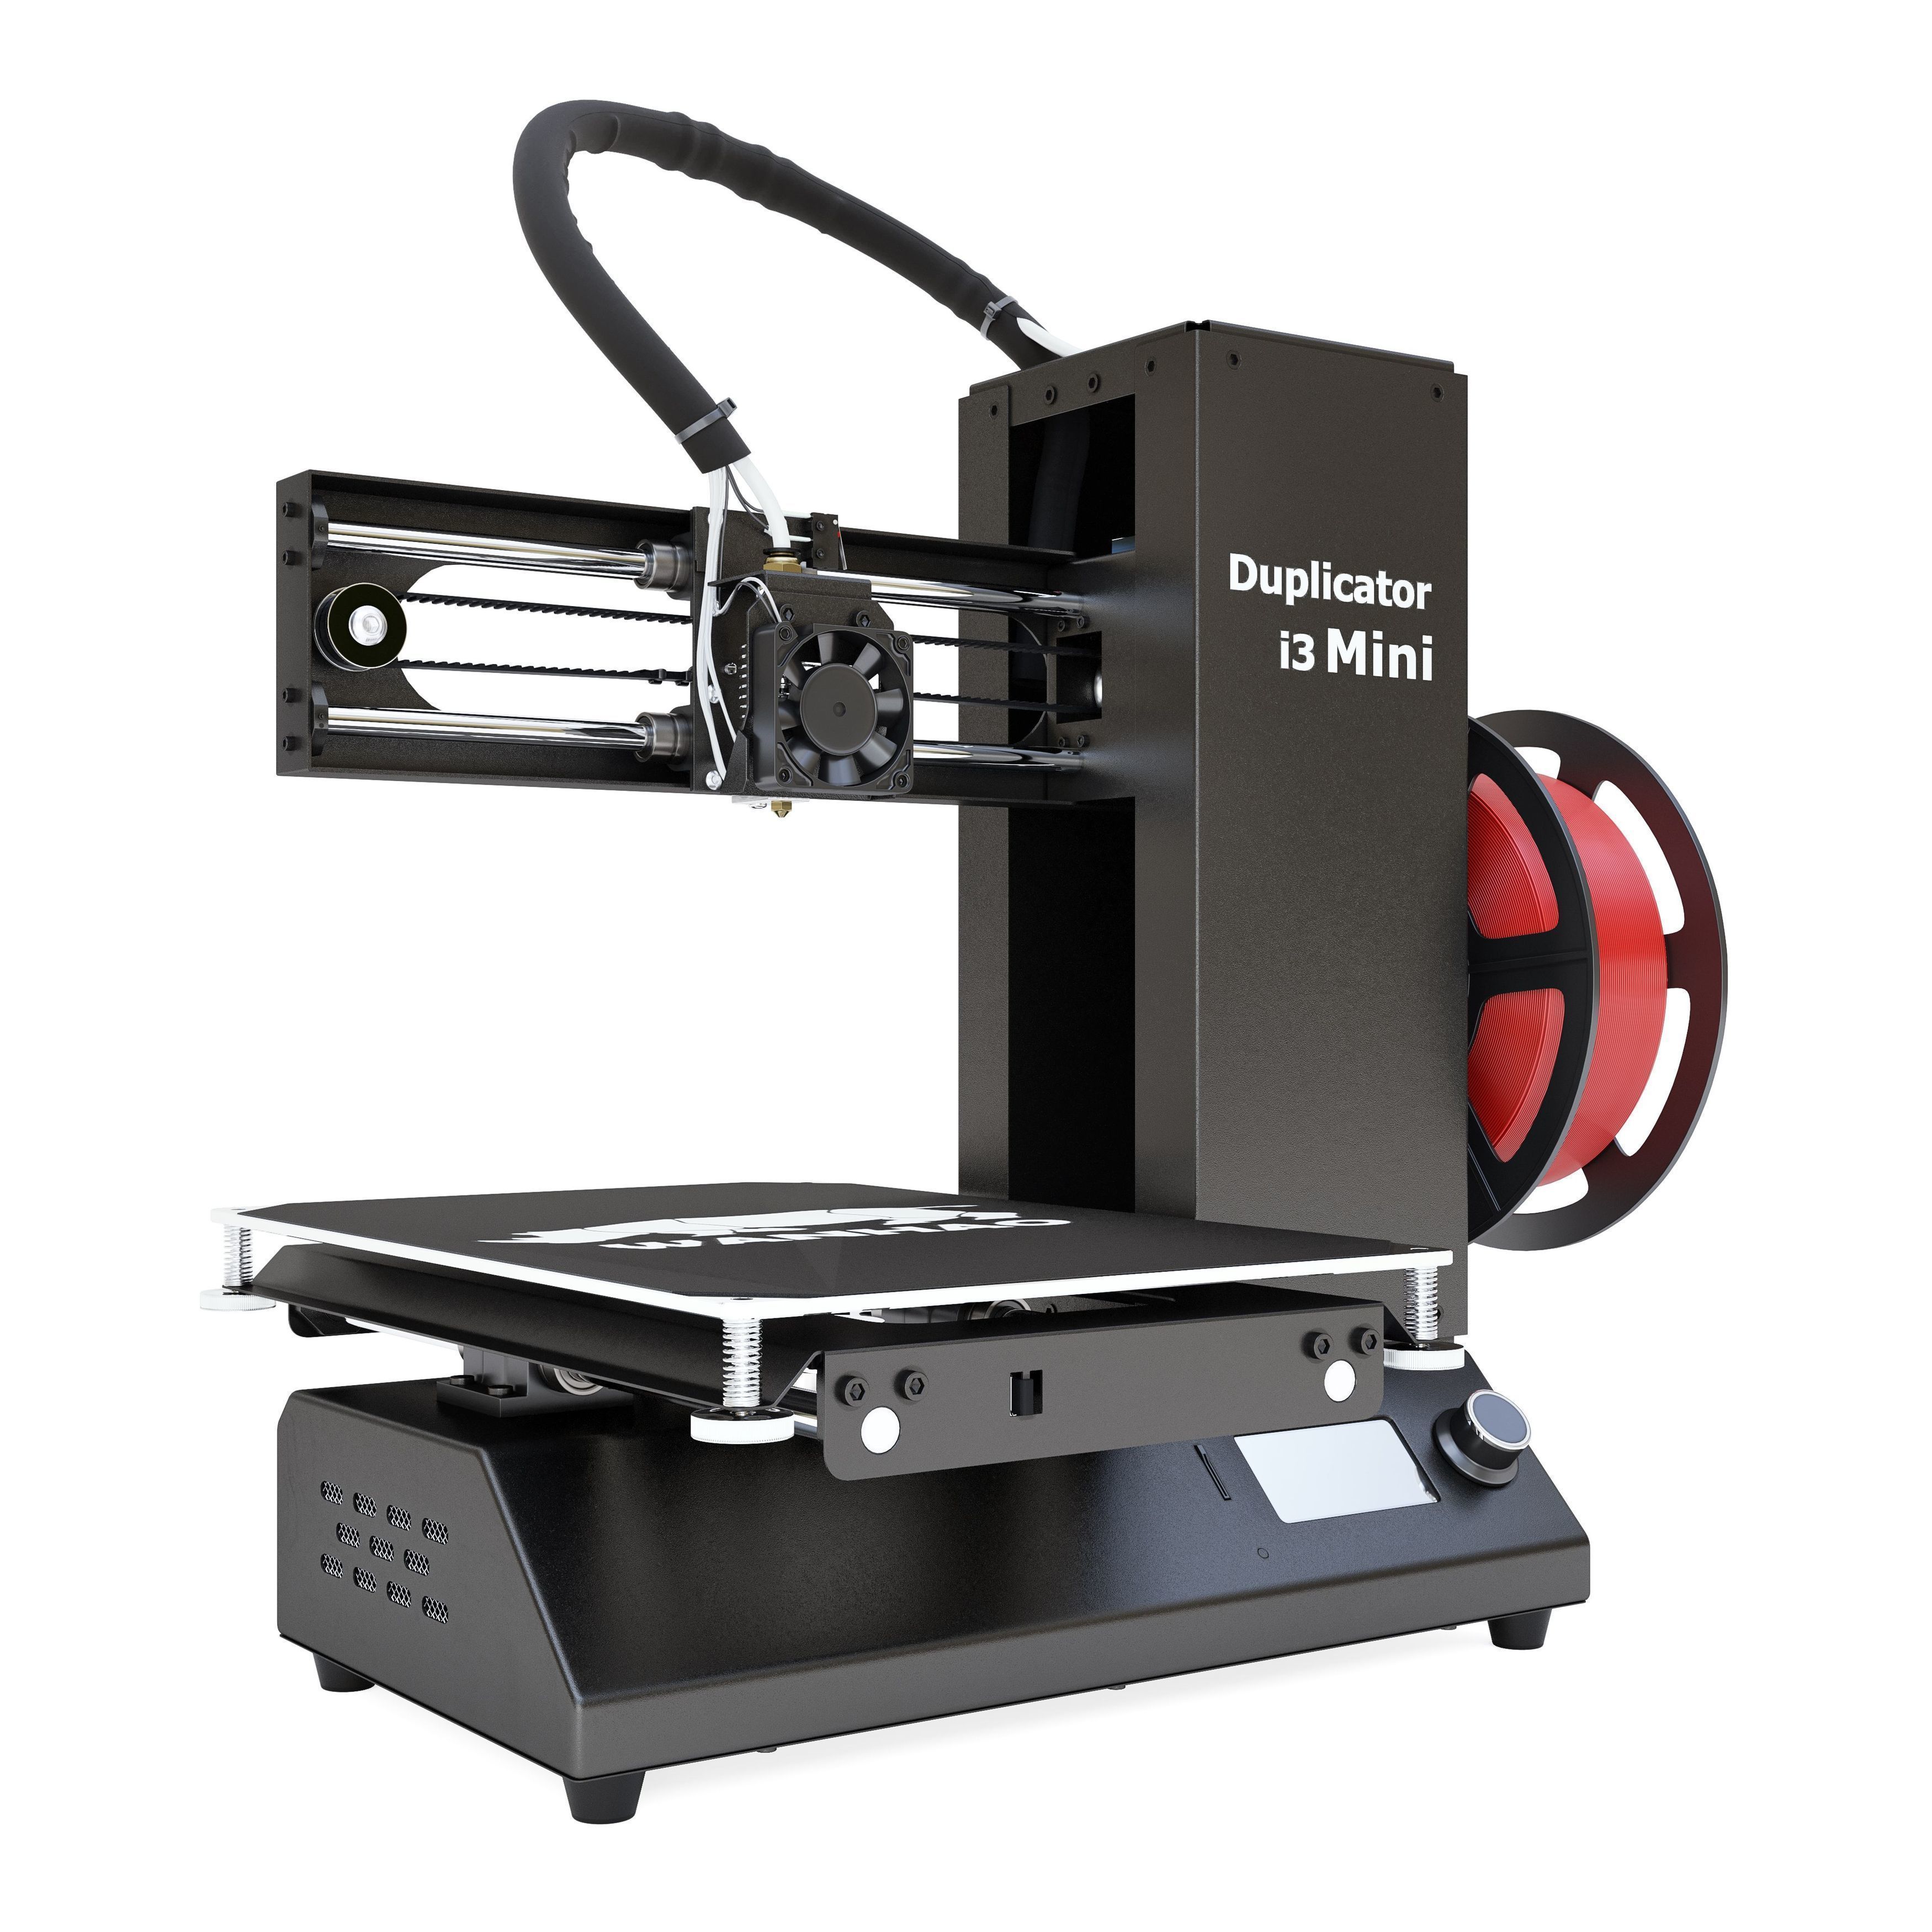
Now, the obvious problem with this is that you don't want glue residue on most of your prints, as well as the fact that in the end it turned out to be little more than compensating for a larger factor that was to blame for most of my misadventures. And no, this isn't just the fact that my printer, the Wanhao Duplicator i3 Mini didn't come with a heated bed:
Bad advice in the manual and online
Turns out that this particular problem was caused by bad instructions that came with the printer, as well as bad advice online!
In my case, and in the cases of many others, the actual problem might be a badly leveled base. And not just because this print bed is offset to one side or the other, which will only be a problem with larger offsets, but rather because the print bed lies either too high or low altogether! As i've already mentioned before, one can attribute this to the instructions that sometimes come with your printer, or even the suggestions that people give online!
So, let's have a brief look at some of the instructions that came with the printer:
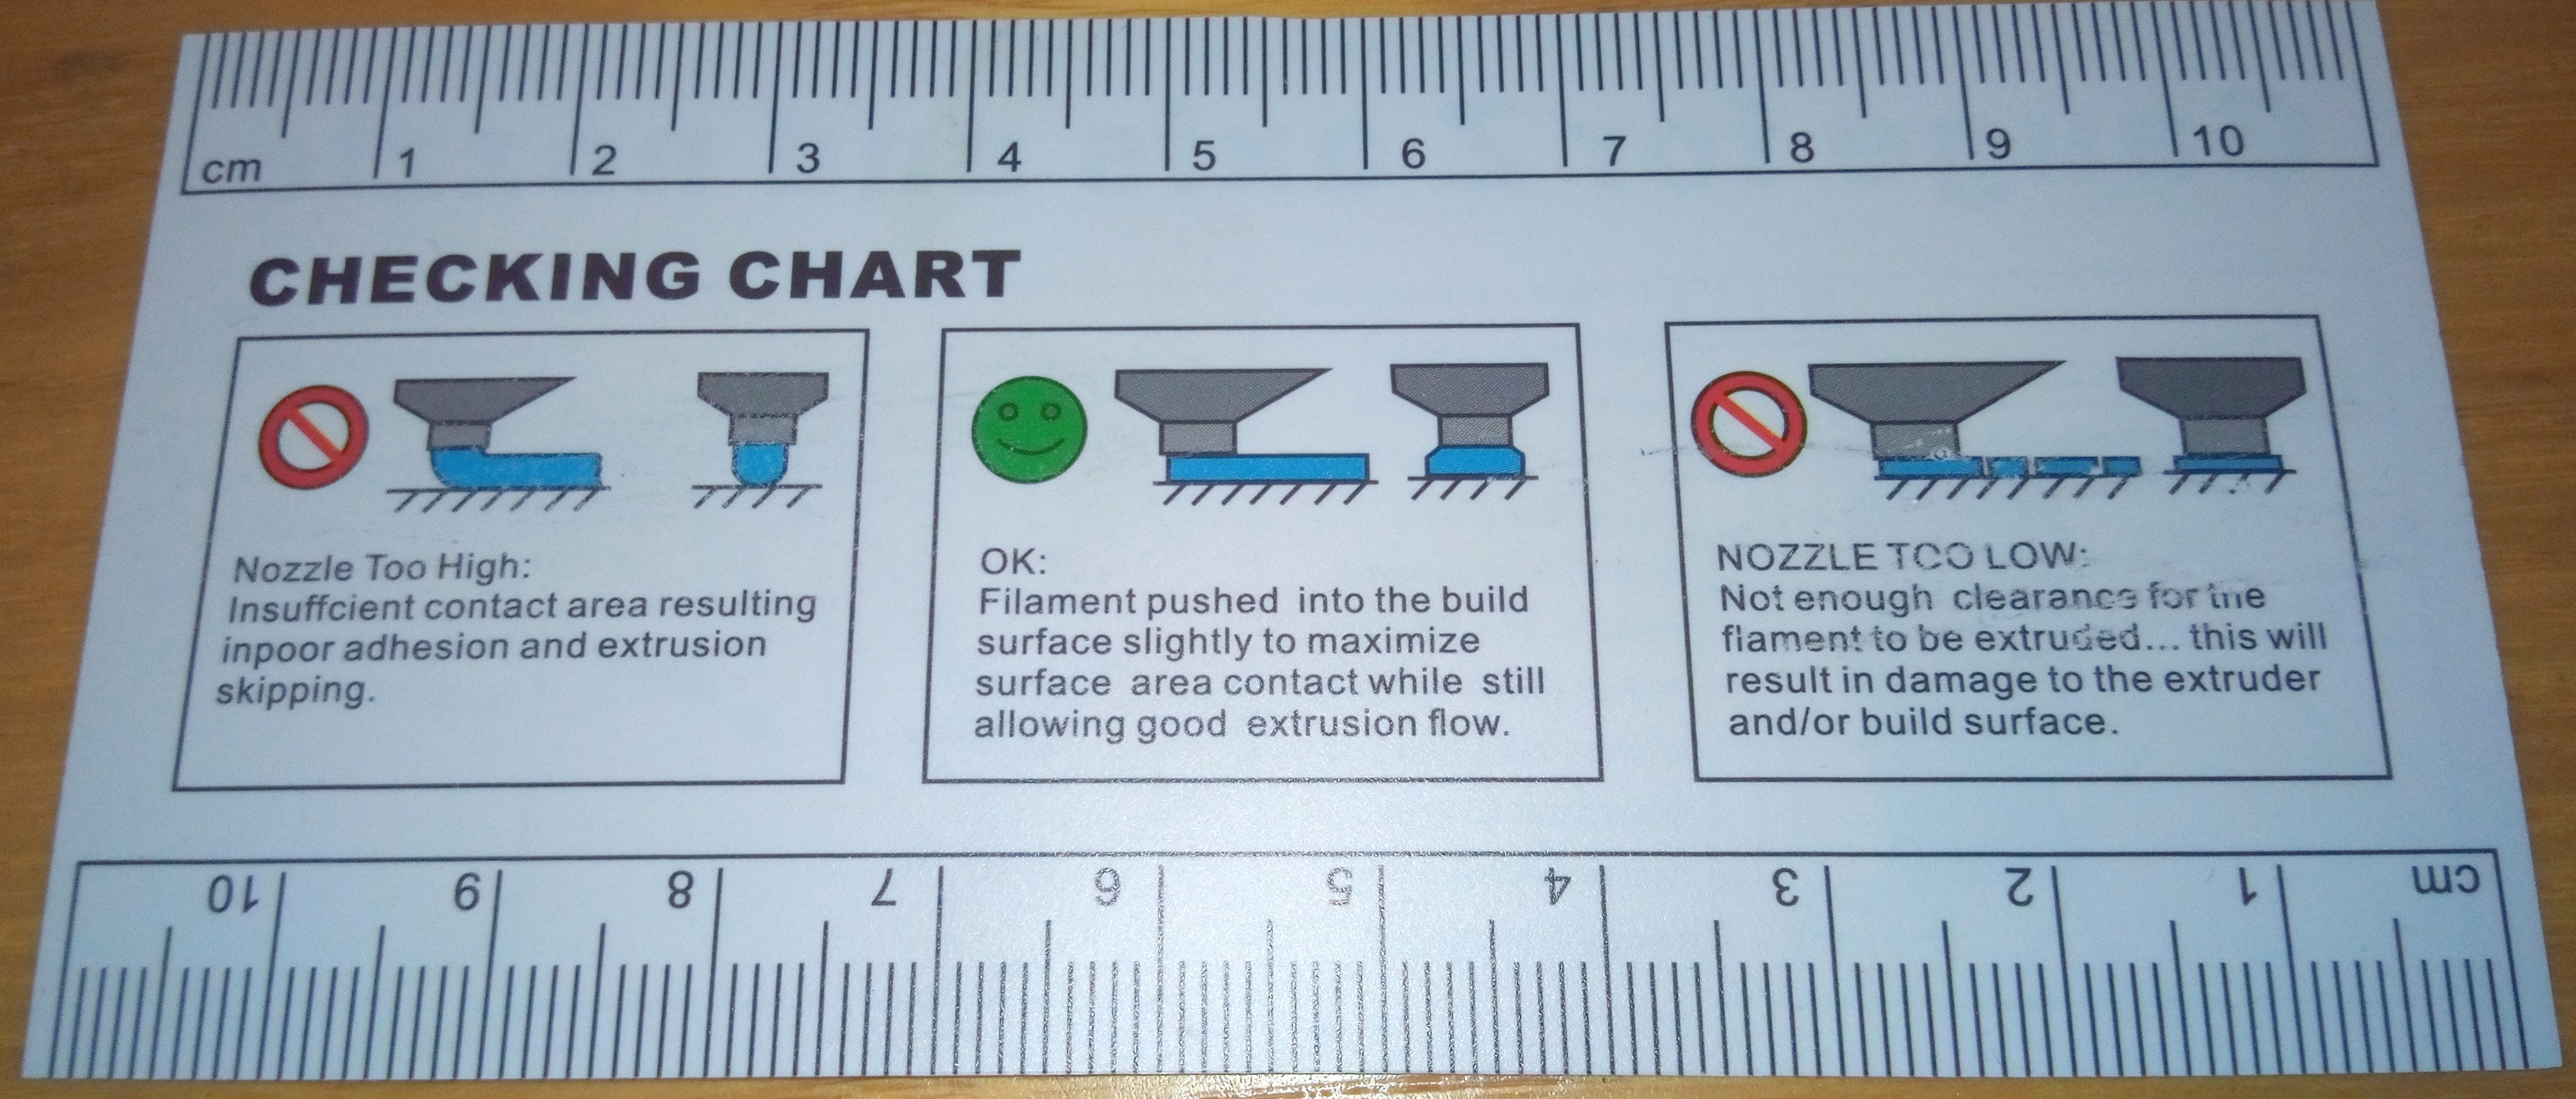
So far, so good! It gives you a good idea, that having the extruder head be too high will cause problems with adhesion, whereas the extruder head being too low could cause problems with inconsistent printing. However, everything goes wrong once you flip that piece of paper around:
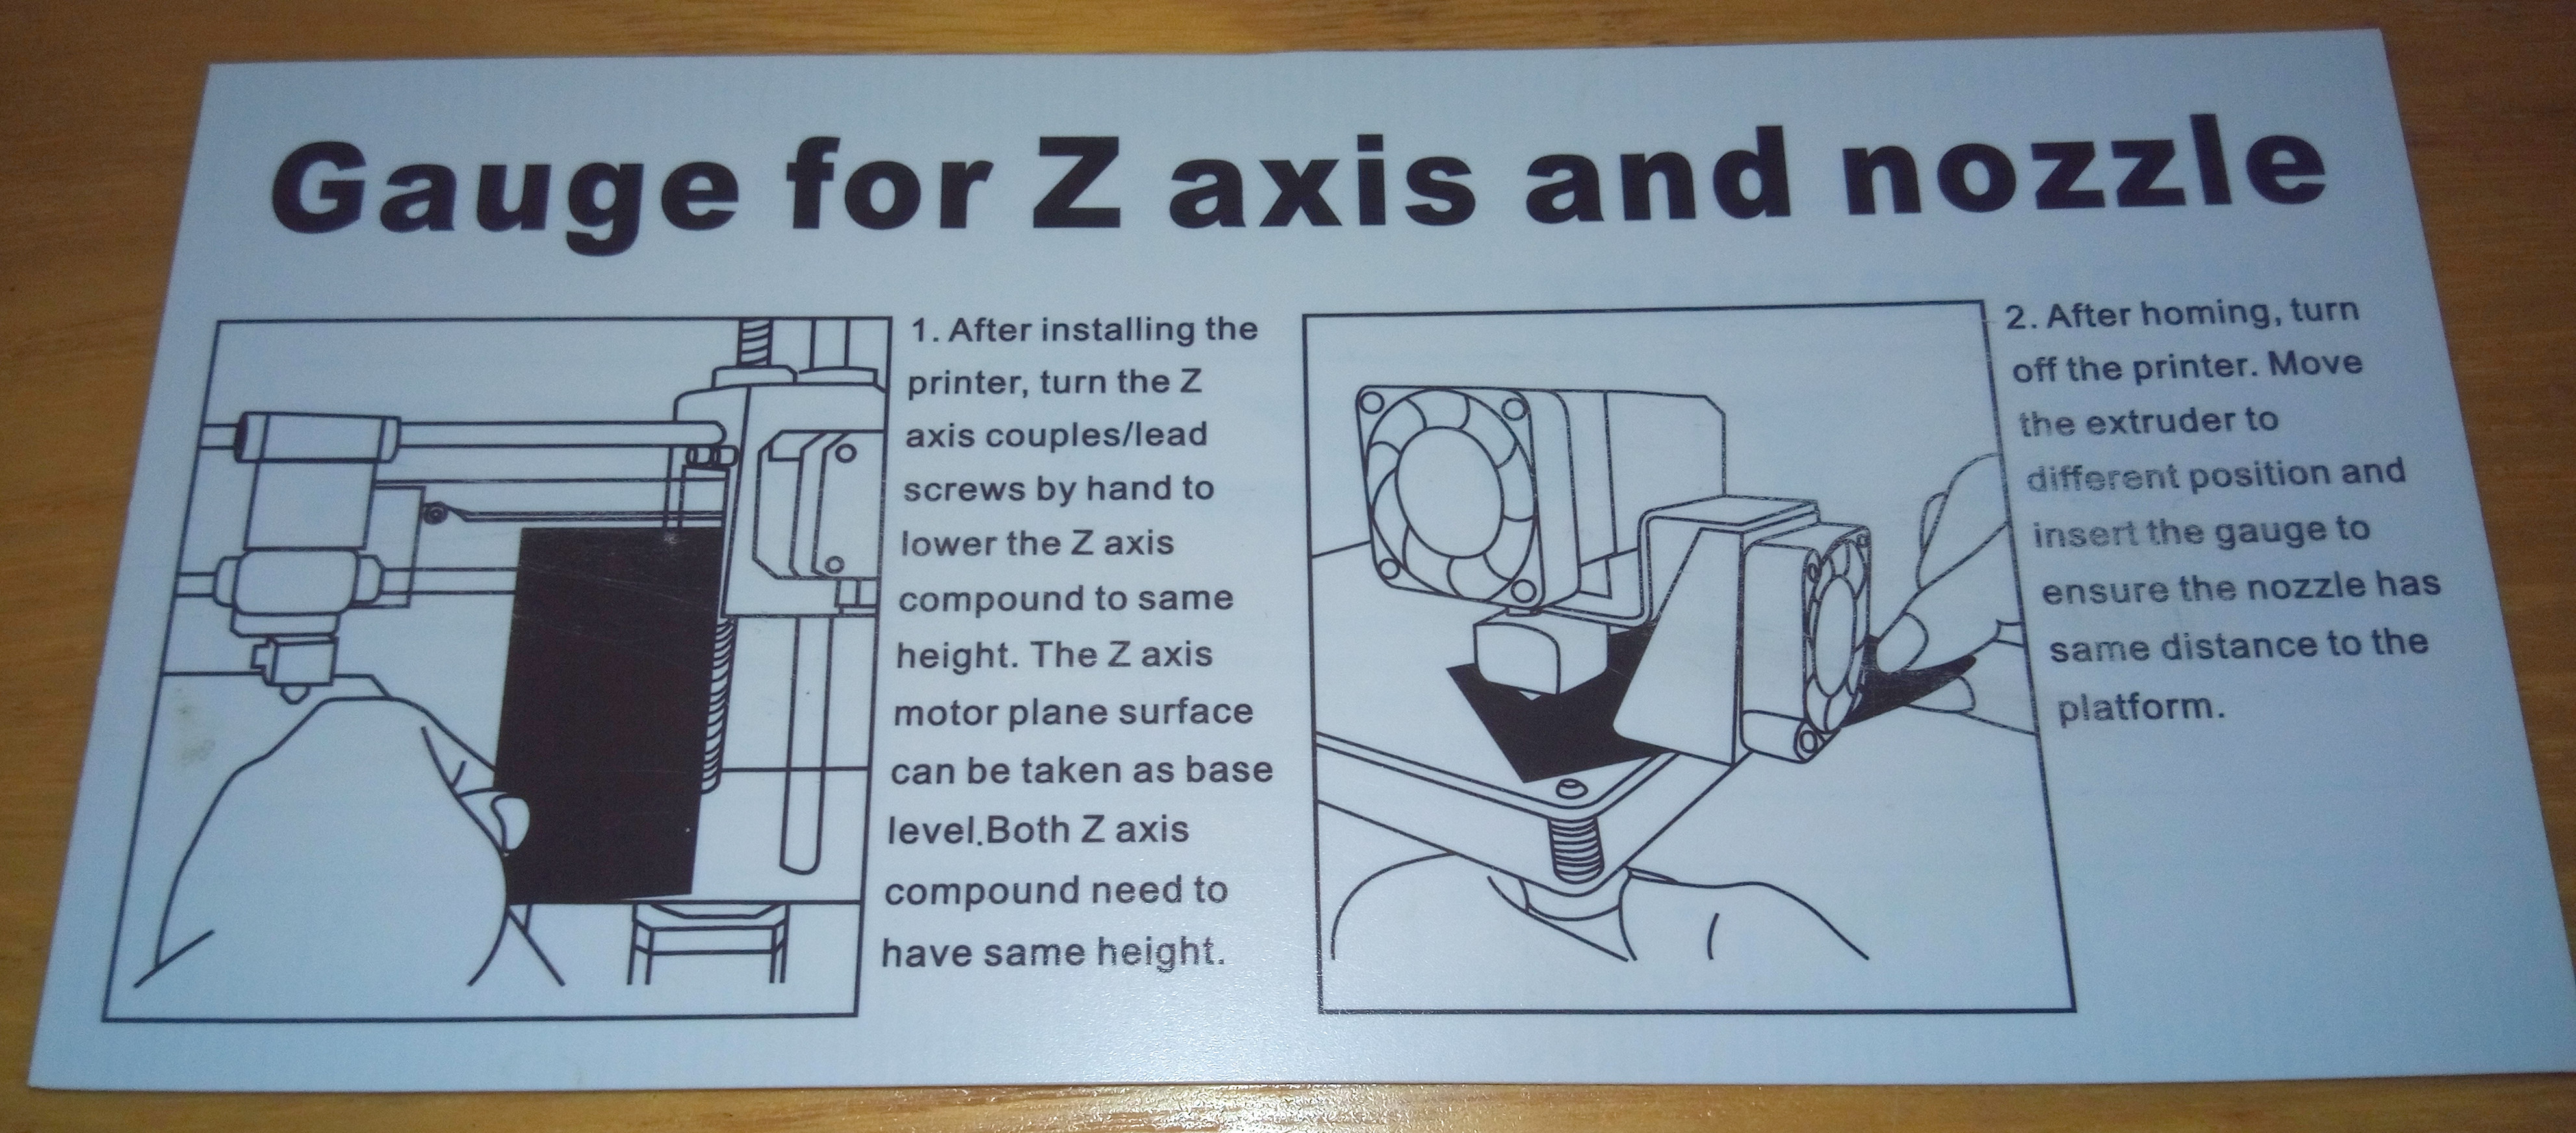
The example picture, as well as many of the pieces of advice that you get online will sound a bit like the following:
Make sure that you can put a single sheet of paper underneath the extruder and that you can move it freely.
This simple lie caused me dozens of hours of messing around with glue and made many of my prints be ruined, which is why today i'd like to set the record straight! If you follow that advice to the letter, you'll end up plenty of problems and your prints won't stick, unless you have one of those fancy heated bases, in which case you'll have a larger tolerance for errors! Not only that, but the piece of paper which was supposed to be used as a reference was thick enough to be the type of "drawing" paper, as opposed to the more thin "copy paper".
So, if you followed those instructions, you'd end up with the following:
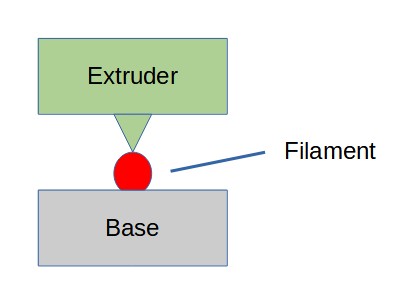
Now, it's probably possible that there can be differences in regards to the filament, however in my experience all of the ones that i've used haven't worked well in this configuration.
What to actually do
What i needed, however was a bit different. So, without further ado, have the only chart that worked for me, in combination with a thin A4 sheet of copy paper:
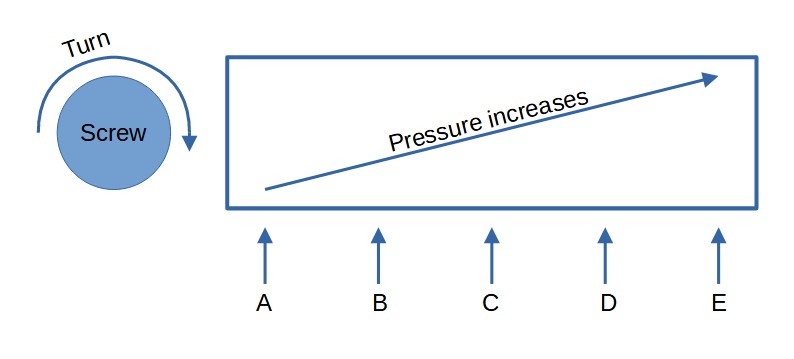
Let me give you a legend for that chart:
- A - wrong, there is little to no pressure against the paper and it can move freely under the extruder; this is bad advice
- B - wrong, there is insufficient pressure against the paper, you will probably feel a bit of resistance, but you can still move it; ~40% of the pressure needed for the piece of paper to be stuck
- C - correct, there is a lot of pressure against the paper, you will feel a large amount of resistance, yet you can still (barely) move it; ~80% of the pressure needed for the piece of paper to be stuck
- D - wrong, there is too much pressure, as evidenced not by the piece of paper being totally immobile, but it moving very slightly and eventually tearing, this is when you know that you're just a little bit too far; ~90% of the pressure needed for the piece of paper to be stuck
- E - wrong, the piece of paper is utterly stuck and cannot move; you've gone too far
So, my simple guide for getting rid of any and all adhesion issues is to get a sheet of copy paper, loosen the screws so that springs press up against the piece of paper so you can't move it and then slightly loosen it until it no longer tears - to do this, change the levelling point multiple times, to lift the extruder up from the torn piece of paper and move to another one, repeat the test until you get to the "C" position.
Furthermore, remember to run the levelling wizard at least 3 or 4 times, since in the case of an asymmetric distance between the screws from the end points making one point be the right distance and pressure will also displace the others from where they should be. So if you do the adjustments multiple times, eventually it should average out to optimal conditions.
Thanks to this, you should end up with the following:
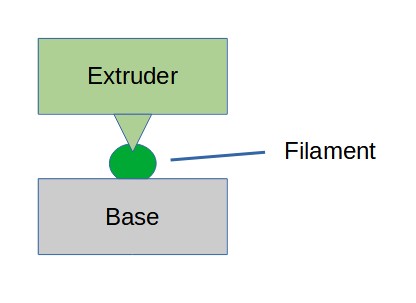
After doing all of that, i've tested the approach with numerous parts and i haven't had any significant issues since:
- no more need for glue, tape, or weird print bed materials, ever
- no more need for rafts, though a brim/skirt still sometimes helps with getting the extruder working and pushing out material in a timely manner
- no more ruined prints
Here's an example of one print that i did just today:
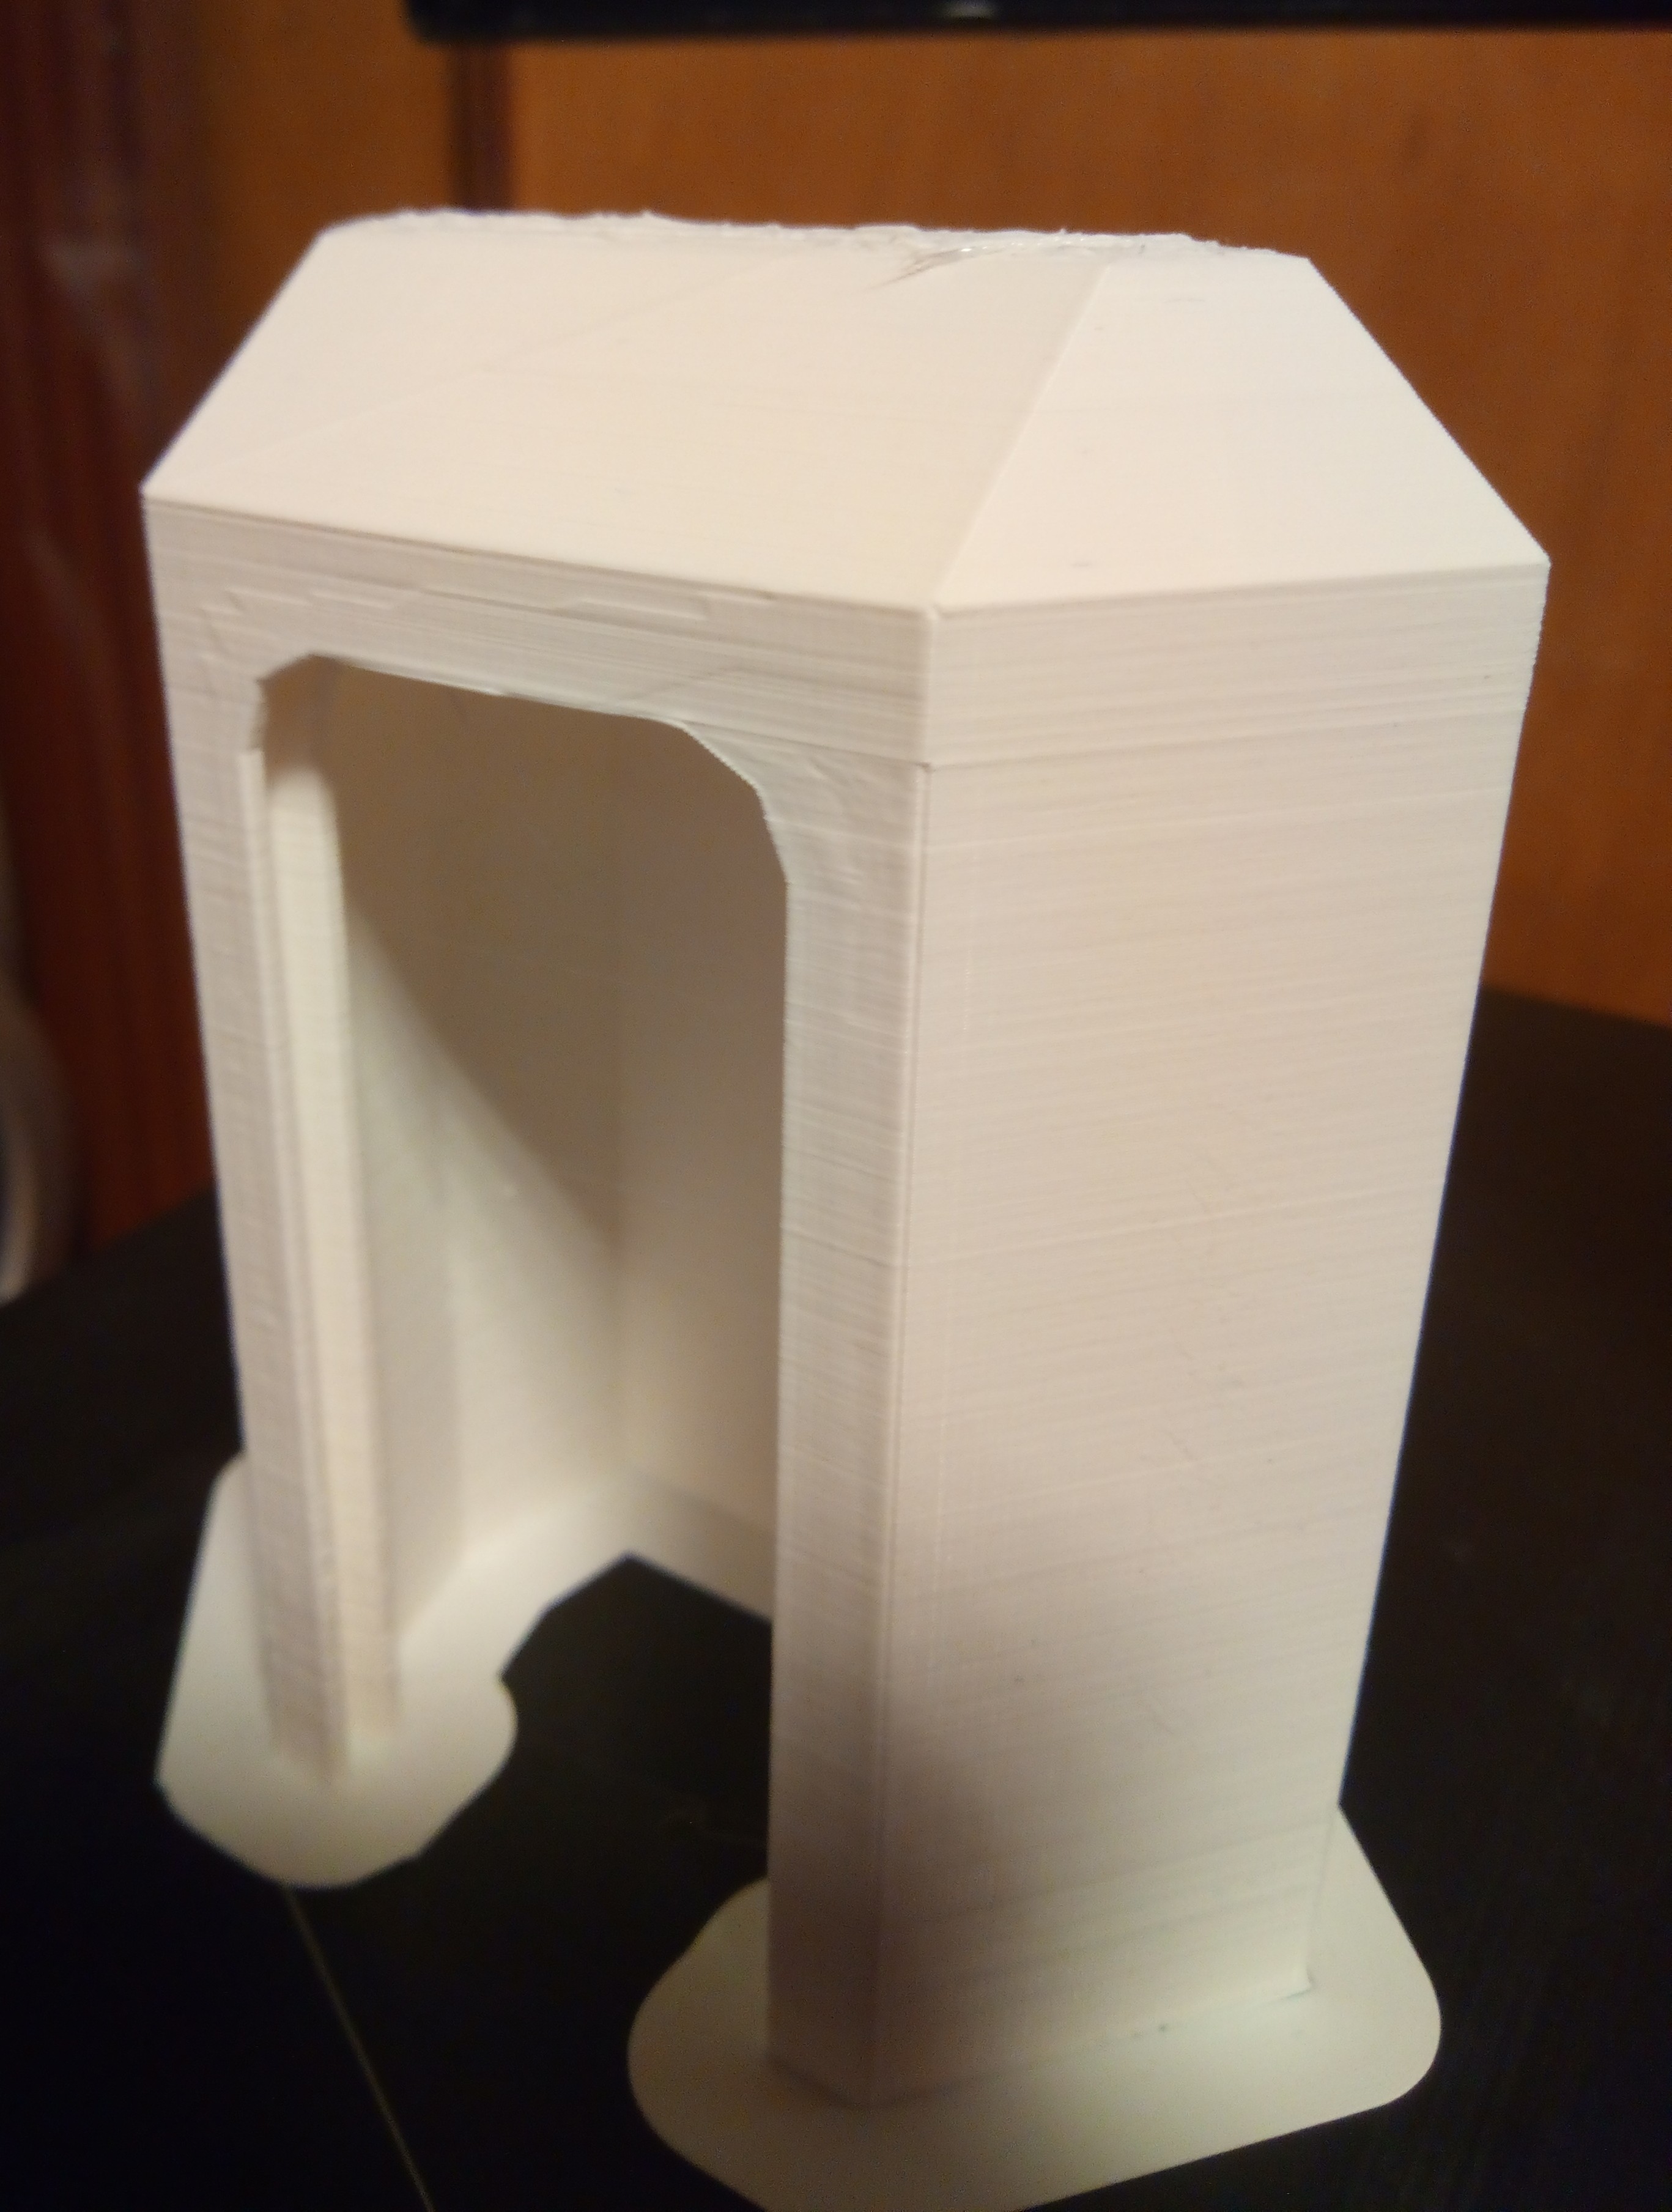
It's a tall detail that reaches up all the way to the top of printer's build area, and due to some problems with the Cura default height value for the printer (110 instead of 100 mm), you can even see the part clipping off at the top. Disregarding that actual issue, that should be enough proof: a thin but tall part printed without any significant issues, apart from the printer also not being as accurate as one might hope for.
Though, that's not really much of a problem, since the part can be sanded down and a separate piece printed to be glued on top of it later:
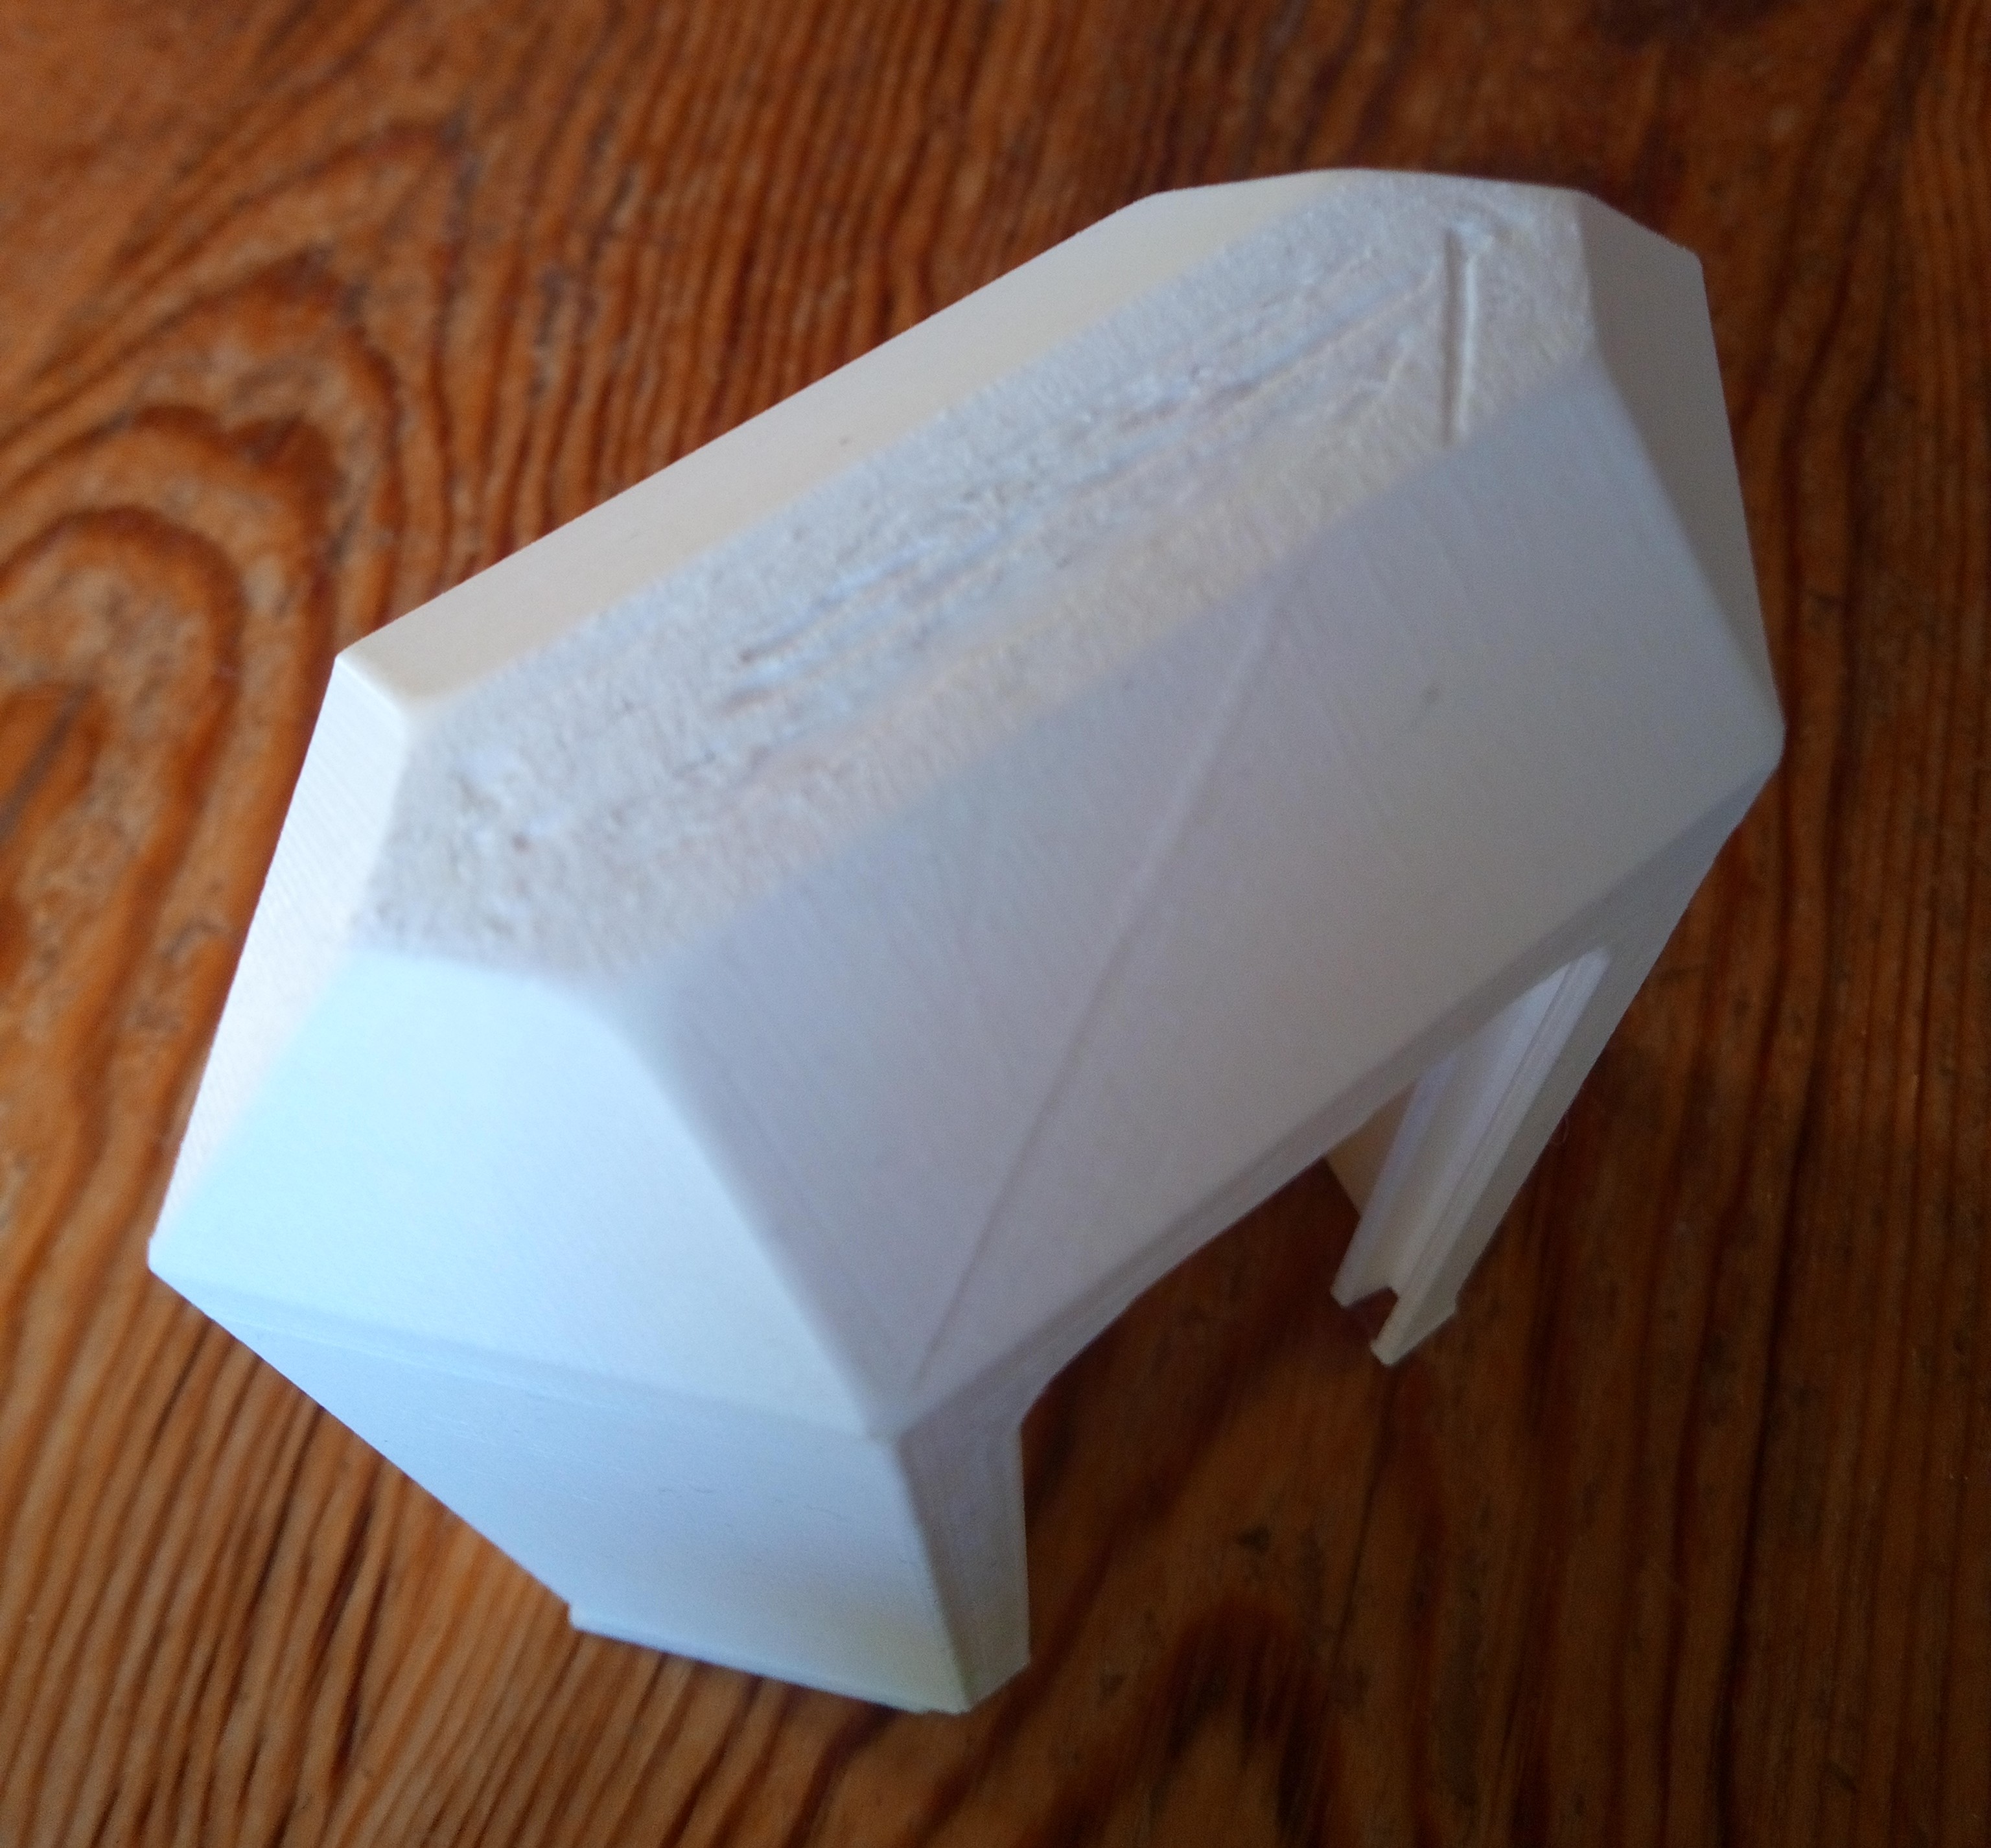
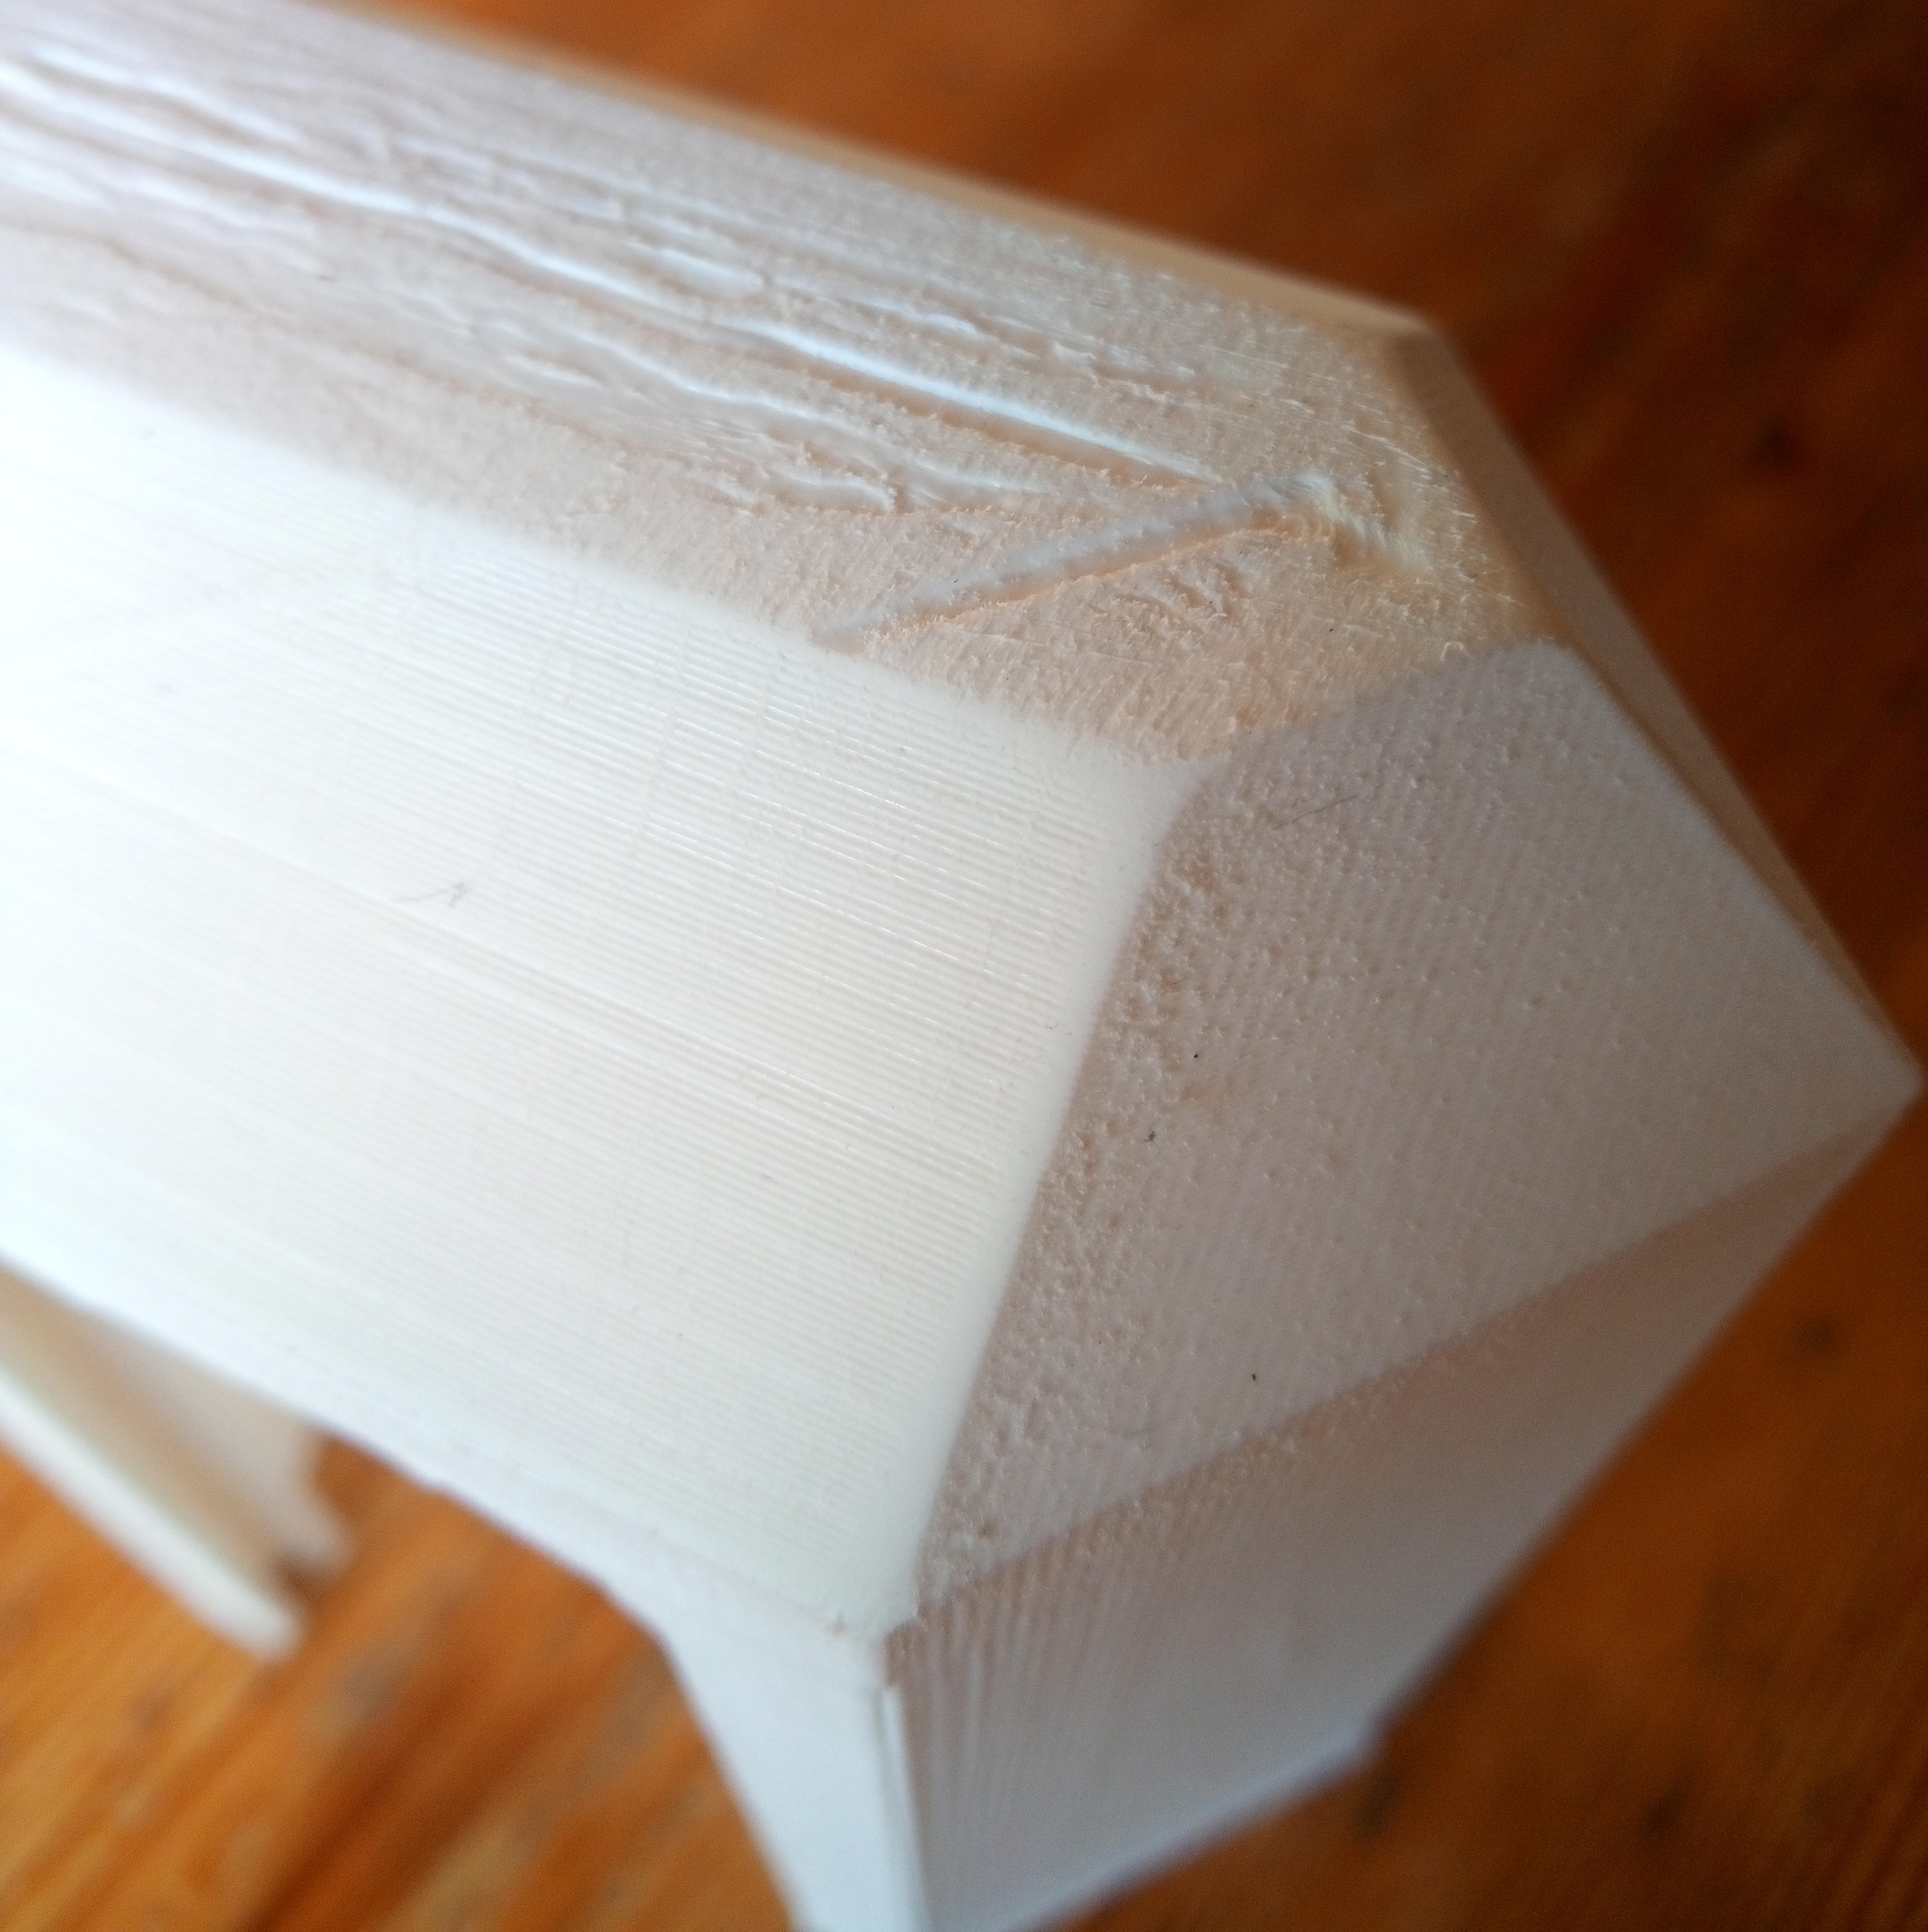
It's actually a bit amazing that the print survived all of that without being dislodged, because you can still see where the hot extruder dragged through the mostly solidified plastic:
And finally, to demonstrate that beyond any reasonable doubt, have a video showing what the actual print endured:
You can actually hear the later layers of the print brushing up against the extruder here, perhaps because the default Cura settings don't attempt to stretch out the top layers to account for the accumulation and eventual slight expansion of PLA, so instead the formula for the final Z level should be something like the following:
actual_Z = model_Z + (print_progress * compensation_value)where the progress would go from 0 to 1 and the compensation value could be another millimeter or two over the total height of the model. Perhaps there's a setting like that, however since i don't do such tall prints most of the time, i'm afraid that i haven't yet located it.
Apart from that, the only actual downside is that my particular printer is slightly dislocated every single print or two, because you need something like a spatula to dislocate the print from the base, given that it now really sticks well. Then again, my printer is so bad otherwise that it gets dislocated anyways, so levelling the bed before every single print is a must anyways.
Summary
Don't just trust everything that you read online, especially when everyone seems to parrot the same suggestions that worked for just them - instead try different approaches for yourself before believing them, even this particular guide! After all, there are numerous printers out there, different filaments, and your slicing software may or may not generate a little bit of offset by itself, as well as there could be small imprecisions in the manufacture of your printer itself.
But yes, i'd say that base levelling is definitely the first thing that you should consider, instead of attempting to use glue, tape or anything else. And, as stated before, just the fact that the base is level isn't enough, its height is also a huge factor in the success of your prints!
Other posts: « Next Previous »